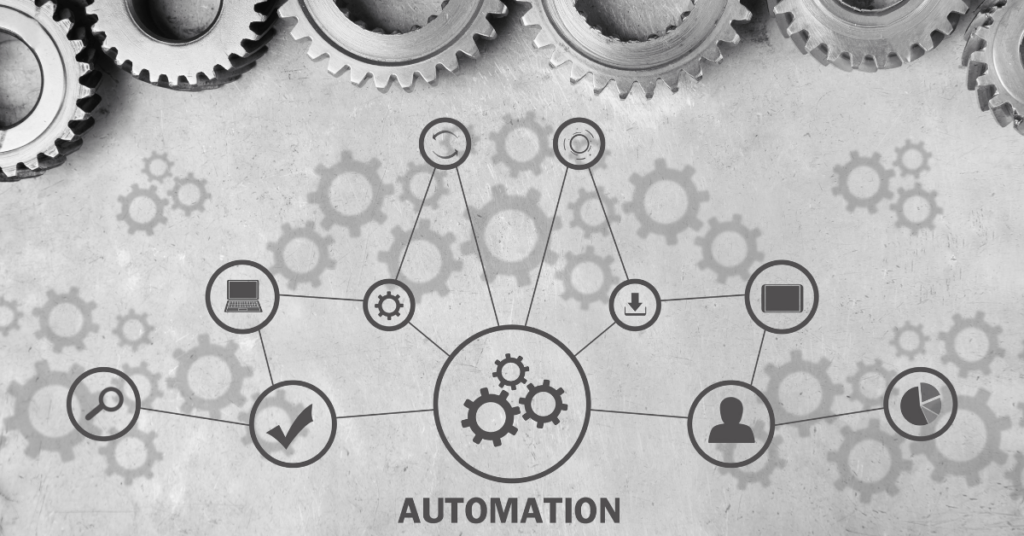
Marketing automation might seem to be a very complicated task and requires high technical skills or costs to implement. However, the truth is, it is very simple anyone can do it.
Marketing automation refers to the software that exists with the goal of automating marketing actions. Many marketing units have to automate repetitive tasks such as emails, social media, and other website actions. The technology of marketing automation makes these tasks easier.
To understand more about what is marketing automation, you can read the blog here.
And if you know what it is but are not sure how to start and create a successful marketing automation campaign, we understand you.
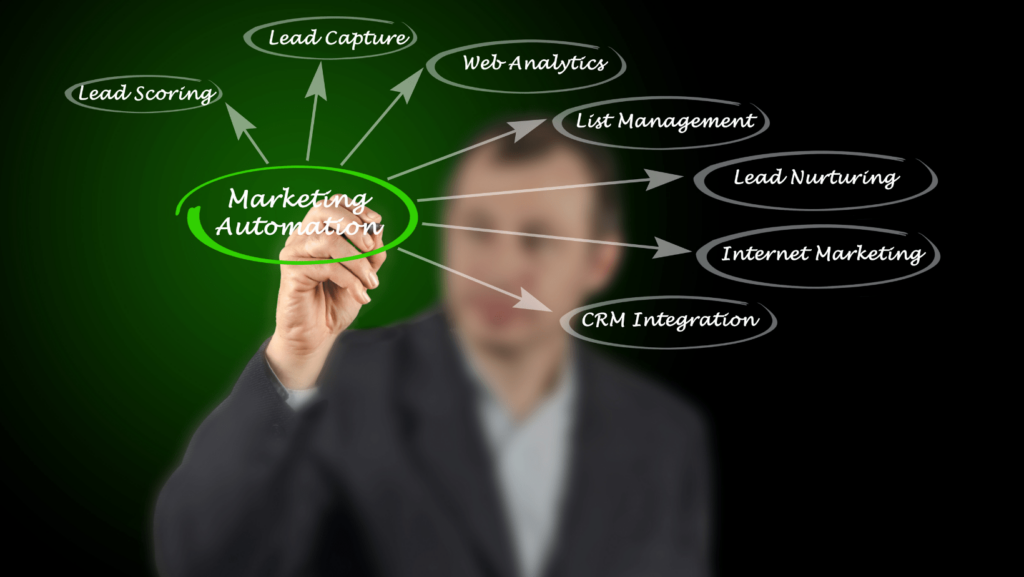
When we talk about marketing automation, there are a lot of different types of marketing automation. It might be a sales funnel, app integration, automation workflow for email sequences, SMS messages, push notifications and so on. Any repetitive tasks that you can automate with the system and process are part of marketing automation.
Today, we will be demonstrating the automation workflow creation process with the GetResponse software.
Before You Start Building The Marketing Automation Workflow
Before you start, there are a few things that you need.
- An email sequence to send,
- A landing page or sales funnel
- A list to send the email.
To start your automation process, you don’t need to have a big list. Instead, you just need a small group of people to send the email and see anything you need to optimize in your email sequence and the automation process.
It’s better that you fail in a small group of audiences than send the wrong marketing automation flow or email to a huge list.
All you need to focus on now is to be familiar with the marketing automation software and workflow creation. Also to test what you have with the market you are targeting.
Claim Your 30-day GetResponse Free Trial Here
Basic Building Blocks for the Marketing Automation Workflow
When you are creating marketing automation, it consists of a logical decision matrix. Like when this happens, then what’s next? And if not, then what’s next?
Hence, you will need to use the three main building blocks for conditions, actions and filters. To start, you can either start from scratch or use a pre-made workflow template in GetResponse.
Depending on your marketing goal, you can choose from the pre-made templates there. And after selecting the template you need, load the basic workflow to the drag-and-drop automation workflow creator.
There, you can choose different elements available from the list on the right and then, just drag the element you need into the workflow and link it up with lines.
Conditions
Conditions are normally decisive events where it will be like when the users say yes, then send to element A, and when they say no, then send to element B.
To start building a workflow, you need to define the entry condition for the recipient. It can be someone who just subscribed to your email list, someone that opened your newsletter, or even someone that visited your eCommerce site but did not complete the purchase.
1. Subscribed to any list via any method
This is typically for an email sequence or welcome email where when someone is added to the email list defined, they will enter the automation workflow and go through the automation sequence.
2. When any newsletter is opened
For this condition, when someone received your newsletter, there is a decision matrix here. If they open it, they will enter a new workflow sequence. And if they didn’t open, they will enter another workflow sequence.
For example, after they open, then the next step could be sending the next email in the sequence and so on.
But if they don’t open, you might send another email that consists of similar content from the first email but with a different subject line or pre-header to try to catch their attention and possibly open your email.
3. When any newsletter link is click
This condition usually happens after the condition above. After they opened your email, did they click on the link in the email? If yes, you know that they might be interested in what you are offering. You can further bring value to them and nurture them to buy in the future. And if not, then you can try to understand their objections and then remove them.
4. Occasion details action
These conditions are normally used to send out birthday greetings or birthday discounts to your email list subscribers. If you have their birthday information collected in the software, it will schedule to send out the birthday greeting email annually when the date is here.
5. Abandon cart email
For this, you would require Javascript or API integration to your eCommerce store in order for GetResponse to collect the abandoned cart details. Then, you can send out a reminder email, usually with a one-time offer to get them to complete the purchase.
There are some other conditions elements in the GetReponse workflow creation tool, which you can explore further if you want. But these are a few most commonly used ones.
Actions
Actions are the essence of marketing automation. This is what you actually do in the automation workflow. Either you are sending out the email, push notification or tagging them to another group.
1. Select a message to send
After the condition is met, this action will be triggered to send out a message usually an email. This can be a targeted email that you sent out based on their actions. For example, when they click the link in your email, you can trigger it to send Email A, and if they didn’t click it, you can trigger it to send Email B.
2. Wait
This is a time schedule action where after you send out the email, it will take some time for the person to open and read it. Hence, you will set for example 24 hours after the email is sent out, if they didn’t open the email, then you will send the second email.
3. Remove from the list
This action can be set when someone did not open your email for a long time or had requested to remove themselves from the mailing list.
These are a few commonly used automation actions. You can explore the other actions in GetResponse.
Filters
Filters create segments that help you target more specific parts of your audience. For example, if you have a new workflow that you want to test for 100 subscribers before sending it to the mass.
1. Only the first X Contact
If you want to test for the first 100 contacts, here you can select the number of contacts to whom you want to send the email.
2. Define Your Range
If you want to choose randomly from the list instead of sending to the first 100 all the time, you can set the range here. You can choose up to 6 different ranges of people that you want to test.
3. Workflow Split test
If you want to test out your workflow variations to see which works, you can have this splitter feature where you can have 50% of traffic going to the first workflow and another 50% of traffic going through the second workflow. And then, select the winner.
4. Lists
The “Lists” block can search through your lists in two ways. The first way is sorting contacts by the list they’re in – searching by their ID. If your workflow starts with contacts subscribing to any of your lists, you can use this filter to perform an action only on people from one specific list.
The other variant is searching for contacts in all your lists using their email address, to see if they appear on more than one list. You can then perform different actions for people who are duplicated in your account, and people who are subscribed to one list only.
When you are building the workflow it’s like playing around with the building blocks. With the right experience and combinations, you can easily create a workflow that converts well for your business. And, the rule of thumb is, you don’t need a very complicated workflow to work.
Start with the pre-built template, and modify it to your requirements. The workflow doesn’t matter that much. The email content is.
Create A Marketing Automation Workflow – Step-by-Step Guide
It’s time to start working. You already know different element types and how to use them. Now, it’s time to build a working automation workflow.
When you click on the Automation feature in GetResponse and then “Create Workflow”, it will show you different templates in each category that you can use to start building your automation workflow.
And of course, for those of you that want to start from scratch, there are always options there.
Suggest that you view different workflow templates by using the preview feature to see which matches your goals the most.
For this guide, we will be building a five days onboarding email sequence where after people sign up to your list, you will be sending one email each day for five days.
We will start from scratch so you can understand the process more.
When you enter the workspace, first input the workflow name and then choose the entry condition.
And next, select the elements that you want to include in your workflow and finally, you may end the automation workflow by segmenting them based on their actions.
I already show you how to build the automation workflow from scratch. It’s time for you to play around with it. You may register for GetResponse free trial here to start working on it.
Claim Your 30-day GetResponse Free Trial Here
Marketing Automation Workflows Example
Marketing automation should be implemented in most businesses to automate repetitive tasks to save time and money. Here are some common automation workflows that you can implement in your business today to achieve your business goals.
1. Lead Generation Process – Contact List Building
Every business needs new leads in order to grow sustainably. And having enough potential customers in your pipeline is how you constantly nurture new leads to convert them into potential buyers.
Hence, building a contact list is the most important lead-generation process that every business needs.
Onboarding Email Sequence
Once someone subscribed to your email list, they are given a chance for you to reach them, While some might think that it is not something important, in fact, it’s an honour for them to do that.
This is why you need to create a premium user journey after they subscribe to your list. You can do this by sending a welcome email to them after they subscribed to your list. In the email, you can introduce to them what is in it for them and how they can benefit them.
Also, you can explain the email sequence that you are going to send for the following days and what to expect.
The email sequence is how you build the stage, remove objections and lead them to the product or service that you are going to sell at the end of the email sequence.
This email sequence is simple to build, you only need two basic blocks, one for the entry point after they subscribe to a list, then send out the message. Just like the workflow below.
However, you can also add on some elements like “WAIT” and “NEXT MESSAGE” so after the first email is sent out, it will wait for like 24 hours before sending out the next email. And depends on how many emails you have in your sequence you can duplicate the blocks.
You can use the welcome email series to run a short onboarding campaign for your contacts.
Run Email Split Test
As in everything digital marketing campaign, the split test is required to get the best version of your work. And ensure that you are using the best for your campaign. Sames goes to the marketing automation workflow. You can use the Splitter filter to split your contact into two different groups by assigning a different percentage of people in each group. And then, each group of people will go through a different sequence of emails to see which sequence works better.
2. Lead Nurturing and Building Relationship
Email marketing is a good way to communicate with your potential customers and build relationships with them by offering value to them through email. There are different email sequences that you can have to achieve that.
It can be a regular newsletter, product launch sequence, short training sequence or incentive-based sequence. The goal here is to stay on the radar of your potential customers and when they need something, you are the one they look for.
Enable a Scoring Mechanism
You can have a scoring mechanism based on their behaviour and interactions with your email. The more emails they read, click and landing page visit, they will be rewarded a score for each activity.
And at the end of the competition, those who are in the highest score will be offered some rewards as a token of appreciation.
The emails you send to contacts with higher scores can be anything from thank you messages to special promo codes.
Contact retargeting
Based on their actions in your email, you can have different responses to it. For example, if someone opens your email, you can send them to sequence 1, and for those not open your email, you can send them to sequence 2.
Or, if they click on the link in your landing, they will go through sequence 1 and if not, they will be going through sequence 2.
And then, you can tag them based on their behaviour at the end of the workflow. Next, you can send a different email sequence to people in different tags.
3. Ecommerce Business
When you sell products online, you need a system that will take good care of your customers pre-purchase, during the purchase and post-purchase. It can be a welcome discount that you offer for them to buy the first item, or an abandon cart recovery sequence, or a follow up email after they complete the purchase.
Cart abandonment recovery workflow
This simple workflow lets you send a follow-up message to customers who have placed items in their shopping cart but left without purchasing them.
Since they show interest in the product and make effort to add it to the cart, it is highly possible for them to complete the purchase. They might just need a push for that.
And you can do it by integrating your eCommerce store with GetResponse via API or Javascript.
If you want to include the items from the cart in your automation message, you’ll want to enable sending new eCommerce data to GetResponse or export existing eCommerce data to your GetResponse account. Then, while creating the message, use an Abandoned Cart block in the email builder.
Ecommerce Follow-Up
Your existing customers already make a purchase from you. And if you serve them well, it is more likely for them to buy from you again. Converting an existing customer is much easier than converting a new customer. And ultimately, you would want to convert them into recurring customers that pay for your subscription service.
You can set up a post-purchase follow-up template that looks like this:
After they make a purchase, you can tag them based on the purchase and next time if you are offering similar products that they might be interested you can send it to them.
Final Thought – How to Implement Marketing Automation In Your Business
Now after you see in detail how marketing automation can benefit your business and how you can create your own marketing automation workflow with ease. Well, if you still haven’t claimed the 30-day free trial for GetResponse, you should definitely do it now.
Just click here and sign up for the free trial, you can cancel at the end of the trial without any cost. And after 30 days, you still can use the basic function of GetReponse for free. And only upgrade if you need.