You’ve got a fantastic business idea and are ready to launch your own custom-printed product store. Yet, a few pressing questions might be holding you back: How do you create designs for print-on-demand? Where should you begin? What design trends are popular right now? Is it necessary to master a variety of design tools before you start?
If any of these questions resonate with you, you’re in the right place. This blog post will guide you through the process of transforming your ideas into tangible designs, setting the foundation for your print-on-demand business.
Start Your Print-On-Demand Business Today
Step 1: Ideation and Market Research

As with any project you undertake, the initial step should always be thorough research. Even if you already have a solid idea of what you want to do, it’s crucial to explore whether someone else has already ventured into that territory. In the fashion industry, design trends are cyclical—they come, go, and often return. This applies to everyday products as well, so you need to ensure you’re aligning your designs with what will resonate with your future customers.
If you are starting from scratch in terms of ideas and want to gauge what is currently popular, begin by examining what successful sellers are offering. Platforms like Etsy and Amazon are excellent places to start. Choose a product category that interests you and take a look at the best-selling print-on-demand products. As you browse, you’ll start to notice trending products, styles, and designs. Utilize the filters to delve deeper into specific categories and assess how your ideas might fit in.
Additionally, Google Trends is a valuable tool to see the frequency of searches for keywords related to your design ideas. Suppose you want to create a t-shirt line featuring humorous cat or dog designs and need to determine which is more popular. Enter relevant search terms and analyze their popularity over your chosen period. For example, you might discover that cat designs are currently more sought after.
Don’t overlook the power of a straightforward Google search. Look for design trend reports, predictions, and overviews to gather inspiration. Social media is another goldmine of information. People frequently share their favourite items and purchases online. Check out posts under popular hashtags like #outfitoftheday and follow influential figures with large audiences to see what they are endorsing.
Step 2: Define your niche
Once you have a grasp on current trends and have a general idea of what you want to create, it’s time to narrow down your niche. In the print-on-demand industry, it’s well-known that trying to appeal to everyone is impractical. Instead, focusing your efforts on a specific niche will make more business sense. By targeting a niche whose buyers are looking for exactly what you offer, you can better tailor your designs and marketing strategies. Moreover, a narrower niche makes it easier to create relevant designs and effectively reach your target market.
To define your niche, start by envisioning your ideal customer. Consider the following questions:
- How old are they?
- What are their interests?
- Are they shopping for themselves or for someone else?
- What kind of designs would appeal to them—minimalistic or extravagant?
- Do they prefer colourful or monochrome designs?
The more questions you ask about your potential customers, the clearer your understanding of your target market will be. Write down your answers and use them to shape your designs and marketing strategies. As you gather customer feedback and learn more about your buyers, refine these answers to better align with their preferences.
For example, if you’ve chosen dog lovers with rescue dogs as your niche, put yourself in the shoes of a customer who wants to buy t-shirts expressing their love for their adopted pets. Explore platforms like Google, Amazon, Etsy, and social media to see what products are already available. Analyze the existing offerings to identify gaps or areas where you can offer something better or entirely new.
Step 3: Plan Your Print-on-Demand Product Designs

With the first two steps complete, it’s time to start creating your own designs. If you enjoy drawing, grab your pencil and paper (or your stylus and drawing pad) and start sketching. Jot down all your ideas, no matter how rough they may be. These initial sketches don’t need to be fully formed designs yet—you’ll refine and finalize them later. The goal is to get your creative juices flowing and lay the groundwork for what your store and products will become.
If you’re not confident in your artistic skills, don’t worry. Today, there are numerous design tools available that make it easy to create unique designs from scratch using stock images, ready-made vector graphics, clipart, and other elements. If you have the budget, you can even hire talented designers to create custom images for you. Alternatively, you can search for free resources online by using keywords like “free designs,” “free images,” and “royalty-free designs.”
When using pre-made elements, ensure they are cleared for commercial use. Always read the terms and conditions associated with any image or design element you plan to use. Pay attention to copyrights and trademarks—if you’re unsure whether you can legally print something, consult a legal expert or opt for a safer alternative.
During this planning stage, you can also write down your product ideas. For instance, if you plan to sell t-shirts with funny quotes about book reading, list the quotes you could use. Later, when you create the actual print files, you’ll have a ready list and can focus on the technical aspects of design.
Whether you’re drawing the designs yourself or planning design ideas, always keep your chosen niche and future buyers in mind. Consider what will appeal to them. What shapes, colours, fonts, and other details would catch their eye?
Start Your Print-On-Demand Business Today
Step 4: Choose your design software
To create print-on-demand designs, you’ll need digital print files, making the choice of the right tools a crucial step in the process. The tools you select can vary based on your technical skills and familiarity with design software. Here are three popular choices to help you get started, each catering to different levels of expertise.
Canva

Canva is a free online image editing tool that is ideal for beginners. Its user-friendly interface, featuring a drag-and-drop editor, makes it accessible to those with little to no technical knowledge. Canva offers a vast array of templates and design elements to jumpstart your creative process.
If you find you need more advanced features, such as background removal or access to premium images, you can upgrade to the Canva Pro plan. However, the free version is quite robust and sufficient for many design needs, especially if you’re starting out with a limited budget.
Photoshop
Photoshop is one of the most famous image editing tools. However, it does come with a steep learning curve and requires some prior knowledge to use effectively. If you’re new to Photoshop, invest some time in learning how to bring your design ideas to life.
The advantage of Photoshop is its unparalleled versatility and power. For a graphic designer, Photoshop offers endless possibilities, allowing you to create highly customized and detailed print-on-demand designs. Its extensive features make it a preferred choice for professional designers who need a comprehensive tool for their creative projects.
To create print-on-demand designs, you’ll need digital print files, so choosing the right tools is one of the most important steps in this process. There are different ways you can go about this depending on how tech-savvy you are.
Step 5: Create your Print-on-Demand Product Designs
Once you have selected your preferred design software and formulated a plan for your projects, it’s time to dive into the design process and transform your creative ideas into printable designs. Just as you did during the planning stage, keep in mind your target audience, their preferred design styles, and your brand identity as you create your images.
Target Audience and Brand Identity
Your designs need to resonate with your ideal buyers and accurately represent your brand. Consider this when selecting colours, design sizes, fonts, and other elements. The visual appeal of your designs should align with the tastes of your audience while staying true to your brand’s character and message.
Customization for Print-on-Demand Products
When designing, think about the specific print-on-demand products you will be using and tailor your designs accordingly. Each printing or embroidery technique has unique characteristics that must be considered. For example:
- T-shirt Designs: Flat, detailed designs work well.
- Embroidered Hats: Simple, bold designs are more effective for embroidery. Note that a t-shirt design might not translate well to an embroidered hat.
- Sweatshirts: Embroidered designs for hats can often be adapted for sweatshirts.
- All-Over-Print Products (e.g., Leggings): These are best suited for patterns or bold, repetitive elements.
Experimentation and Adaptation
It’s important to recognize that not all designs will look great on every product. This is perfectly normal. Focus on finding the products that best showcase your designs and fit your brand’s style. Don’t be afraid to experiment with different design elements and product types to discover what works best.
Once you have your preferred design software and a plan for what you want to make, it’s time to get started with the design process and turn your creative ideas into printable designs. Just as you did in the planning stage, when you create images now, remember your target audience, their preferred design styles, and your brand identity.
Your designs have to appeal to your ideal buyers and reflect who you are as a brand. Consider this when choosing colours, the size of the design, fonts, and other elements.
You should also think about the print-on-demand products you’re going to sell your designs on and customize them accordingly. Remember that each embroidery or printing technique has peculiarities you need to consider. A t-shirt design won’t be suitable for an embroidered hat, whereas an embroidery design for a hat could be reused on a sweatshirt. All-over-print products like leggings will look best with patterns or other bold elements.
Not all of your designs will look great on absolutely all products—and that’s alright! Find the ones that work best for your brand, and feel free to experiment.
Start Your Print-On-Demand Business Today
Step 6: Optimize your Print-on-Demand Product Designs
After you’ve created your designs and selected the print-on-demand products for your store, a few crucial steps remain to ensure your designs are transformed into high-quality products. Each print-on-demand service has specific print file requirements that you must adhere to for optimal results. Adhering to these guidelines ensures that your final products turn out exactly as you envisioned. Ignoring them can lead to subpar products and negative customer feedback, as buyers might receive items that do not match the advertised designs.
When your designs are ready, you must adjust them according to the print guidelines for each print-on-demand product you plan to offer. This step is extremely important and should not be overlooked. Properly adjusted designs will maintain their quality during the printing process, ensuring vibrant colors, sharp details, and overall visual appeal. Meeting expectations is key to building trust and loyalty. When products look as promised, customers are more likely to be satisfied and return for future purchases. Consistently delivering high-quality products helps in establishing a strong, positive brand image.
To ensure compliance, carefully read the print file requirements provided by your print-on-demand service for each product. These guidelines typically cover resolution, colour mode, file format, and design dimensions. Use your design software to make necessary adjustments, which might include resizing, changing the colour mode to CMYK, ensuring the correct resolution (usually 300 DPI for printing), and saving the file in the required format (such as PNG or JPEG). If possible, order test prints of your products to check the quality and make any final adjustments before making them available to customers.
Step 7: Create mockups
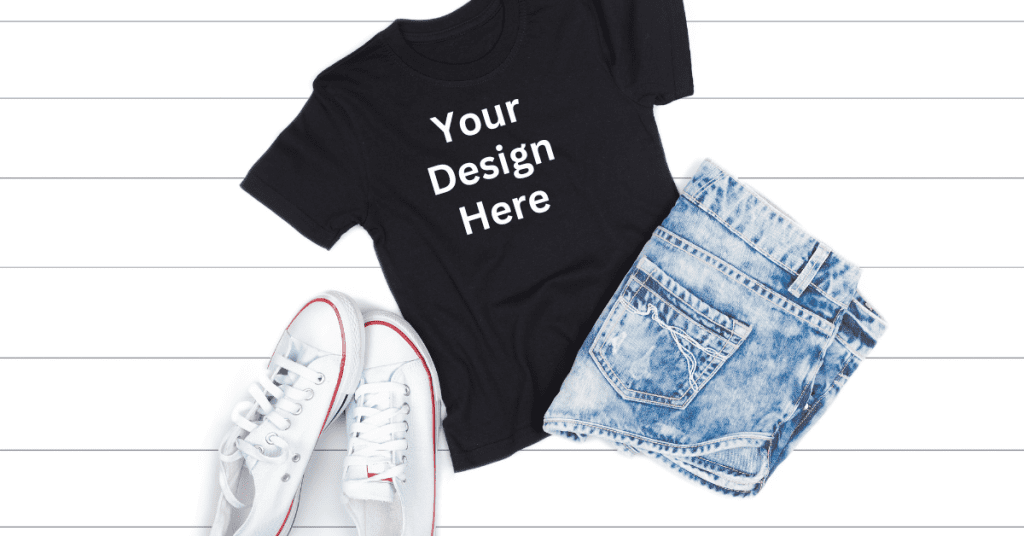
As any online shopper knows, one of the inherent risks of purchasing items online is the uncertainty about how the physical products will look and feel once they arrive. This concern can be mitigated by utilizing mockups to showcase your designs on the products. Mockups provide a visual representation that helps customers understand the design’s placement, size, colours, and overall aesthetic. They also allow customers to see the product itself, giving them a better sense of its fit, length, and size, which can significantly reduce hesitation and increase purchase confidence.
Print-on-demand services, such as Printify, typically offer comprehensive mockup tools. When you create products on Printify, you can generate a variety of mockups for each item. This feature allows you to select images that best represent your products and resonate with your target audience. By carefully choosing the right types of mockups, you can enhance the visual appeal of your online store, making it more attractive and trustworthy to potential customers.
As any online shopper knows, one of the risks of buying things online is that you can’t really be sure how the physical products will look once you receive them. You can lessen these buyer fears by showcasing your designs on the products using mockups. That’ll let your customers get a better feel of the design’s placement, size, colours, etc. And they can also see the product itself, like its fit, length, and size.
Print-on-demand services like Printify usually offer mockups as well. When you create your products on Printify, you can generate different mockups for each product. Choose the types of images that would suit your print-on-demand store best and will appeal to your target audience.
Step 8: Order samples
While mockups are incredibly useful, the most effective way to ensure your designs look perfect on the chosen products is to order samples. When creating print-on-demand designs, you aren’t interacting with the physical products directly, and what appears on your computer screen may not always translate accurately to real life.
To ensure that everything meets your expectations, ordering samples is crucial. This allows you to assess the print quality provided by your dropshipping platform and evaluate how well your designs fit the selected products. You might discover that certain colours need adjustments or that other edits are necessary to guarantee that your customers are delighted with their purchases and are motivated to return.
Additionally, having physical samples on hand can serve as an excellent promotional tool for your store. You can organize a photo shoot to create high-quality images for your website and marketing materials. Otherwise, you can wear and showcase your merchandise to generate buzz and attract attention. By doing this, you not only verify the quality of your products but also create compelling content to drive sales and build your brand.
Start Your Print-On-Demand Business Today
Final Thoughts: How to Create Print-on-Demand Product Designs Even If You’re New
Creating print-on-demand product designs can seem daunting at first, but with the right approach, even beginners can achieve remarkable results. Embrace your creativity, leverage the wealth of online tools and resources, and don’t be afraid to experiment and learn from your mistakes.
Remember, the journey of design is a continuous learning process that rewards innovation and persistence. By staying committed and open to new ideas, you’ll find that your skills and confidence will grow, turning your print-on-demand venture into successful and fulfilling. Happy designing!


