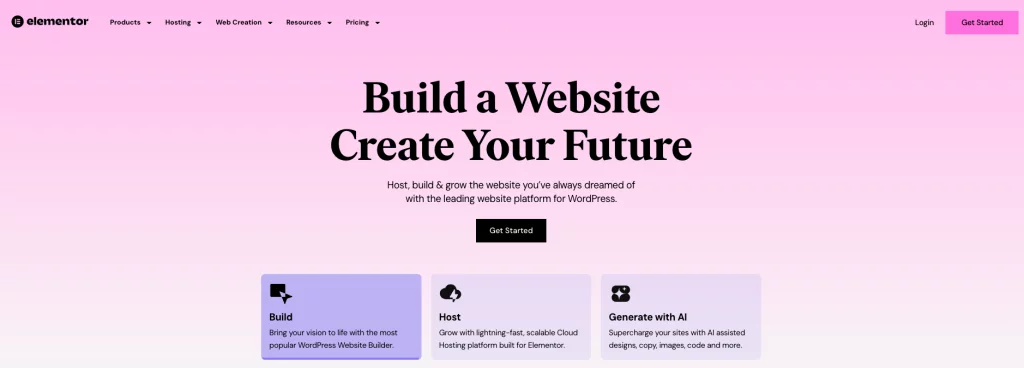
Creating a beautiful blog is a goal for many aspiring bloggers, and Elementor is one of the most powerful tools to achieve this. Elementor is a drag-and-drop page builder plugin for WordPress that allows you to design visually stunning and highly functional websites without needing to write a single line of code.
Blogging has evolved from a simple online journal to a powerful platform for sharing information, building a brand, and even generating income. A well-designed blog can attract readers, engage them, and keep them coming back for more. Elementor provides the tools needed to create a blog that is not only beautiful but also user-friendly and functional.
In this comprehensive guide, we will walk you through the steps to create a beautiful blog using Elementor.
Start Your WordPress Blog Today with Bluehost Hosting
Why Using Elementor To Build Your WordPress Blog

Using Elementor to build a WordPress blog offers several compelling advantages that can greatly enhance the user experience and streamline the website creation process. Firstly, Elementor provides a powerful and intuitive drag-and-drop interface that makes designing web pages accessible even to those with little to no coding experience. This visual builder allows users to see changes in real time, facilitating a more efficient and enjoyable design process.
With a wide array of widgets and templates available, users can quickly create complex layouts and add interactive features, such as forms, sliders, and galleries, without needing to write a single line of code.
Moreover, Elementor is known for its flexibility and customization options. Users have the ability to adjust virtually every aspect of their blog’s design, from fonts and colours to spacing and alignment. This level of control ensures that the blog can be tailored to reflect the unique branding and aesthetic preferences of the user. Additionally, Elementor’s responsive design capabilities are particularly noteworthy. With built-in tools to preview and customize how the blog will appear on various devices, users can ensure their site looks great on desktops, tablets, and smartphones alike.
This is crucial for providing a seamless user experience across all platforms and enhancing the blog’s accessibility and user engagement.
Lastly, Elementor integrates seamlessly with WordPress’s vast ecosystem of plugins and themes. This compatibility allows users to extend the functionality of their blog with ease. This can be done through SEO tools, social media integration, or e-commerce capabilities. Elementor’s compatibility with popular WordPress themes also means that users can leverage pre-built designs to jumpstart their projects, saving time and effort.
Furthermore, Elementor’s active community and extensive documentation provide valuable resources and support. This ensures users can troubleshoot issues and find inspiration for their designs.
How To Create a Beautiful Blog With Elementor
1. Setting Up Your WordPress Website
Before you can start using Elementor, you need to have a WordPress website. If you haven’t already set up your WordPress site, follow these steps.
Firstly, select a domain name that reflects your blog’s niche and is easy to remember. Then, choose a reliable hosting provider such as Bluehost. Bluehost provides a one-click WordPress installation, making the setup process straightforward.
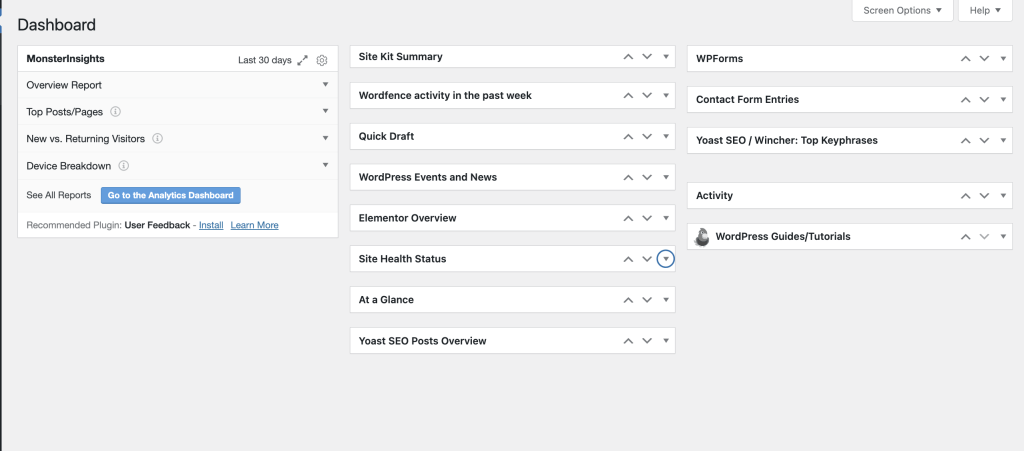
Once WordPress is installed, log in to your WordPress dashboard using the credentials provided during the installation process.
Start Your WordPress Blog Today with Bluehost Hosting
2. Installing and Activating Elementor
To install Elementor, navigate to the WordPress dashboard, then go to Plugins > Add New, and type “Elementor” in the search bar. Click on the Install Now button next to the Elementor plugin and then activate it after the installation is complete.
While the free version of Elementor offers many features, Elementor Pro unlocks additional functionalities like advanced widgets, templates, and theme builders.
To install Elementor Pro, purchase it from the official Elementor website and download the plugin file, then navigate to Plugins > Add New > Upload Plugin, and upload the Elementor Pro plugin file. Finally, activate the plugin and enter your license key to enable Elementor Pro features.
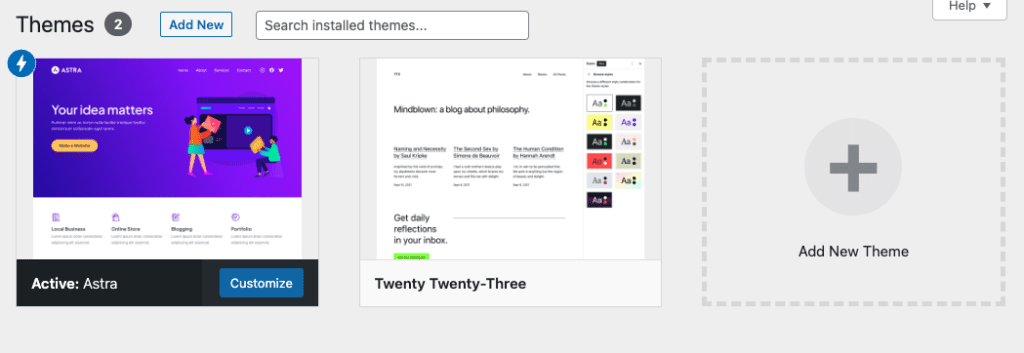
3. Choosing and Installing a Theme For Your Elementor WordPress Blog
Elementor works with almost any WordPress theme, but for the best results, choose a theme that is compatible with Elementor and optimized for performance.
Elementor works with almost any WordPress theme, but for the best results, choose a theme that is compatible with Elementor and optimized for performance. Recommended themes include Astra, OceanWP, and GeneratePress.
To install a theme, navigate to Appearance > Themes, then click on Add New, search for your chosen theme, and click Install and then Activate.
4. Designing Your Blog with Elementor
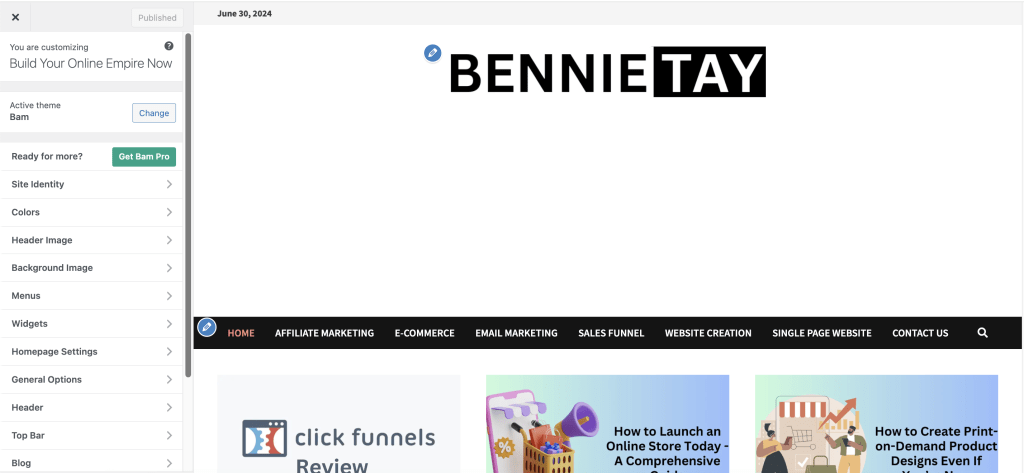
The home page is the first thing your visitors will see, so it’s essential to make a great first impression. Firstly, start by creating a new page by navigating to Pages > Add New, title your page (e.g., “Home”), and click Edit with Elementor.
Then, add a section by clicking on the + button, choose a structure, and add widgets from the Elementor panel to your section. Common widgets for the home page include Heading, Image, Text Editor, Button, and Posts.
An effective home page might include a hero section with a full-width background image, a headline, and a call-to-action button. Follow this with an about section introducing yourself or your blog, a featured posts section displaying your most popular or recent blog posts, testimonials to build credibility, and a newsletter signup form to encourage visitors to subscribe.
Customizing the Elementor WordPress Blog Page
Besides, WordPress automatically creates a blog page to display your posts. You can set up the blog page by navigating to Settings > Reading, setting your Home Page to a static page, and your Posts Page to your desired blog page.
Then, customize the blog page with Elementor by finding your blog page under Pages > All Pages and clicking Edit with Elementor. Use the Posts widget to display your blog posts and customize the layout, style, and pagination as needed.
Designing Single Post Templates
A cohesive single-post template ensures that all your blog posts have a consistent look and feel. You can access Elementor Theme Builder by navigating to Templates > Theme Builder and clicking on Add New, then choosing Single Post.
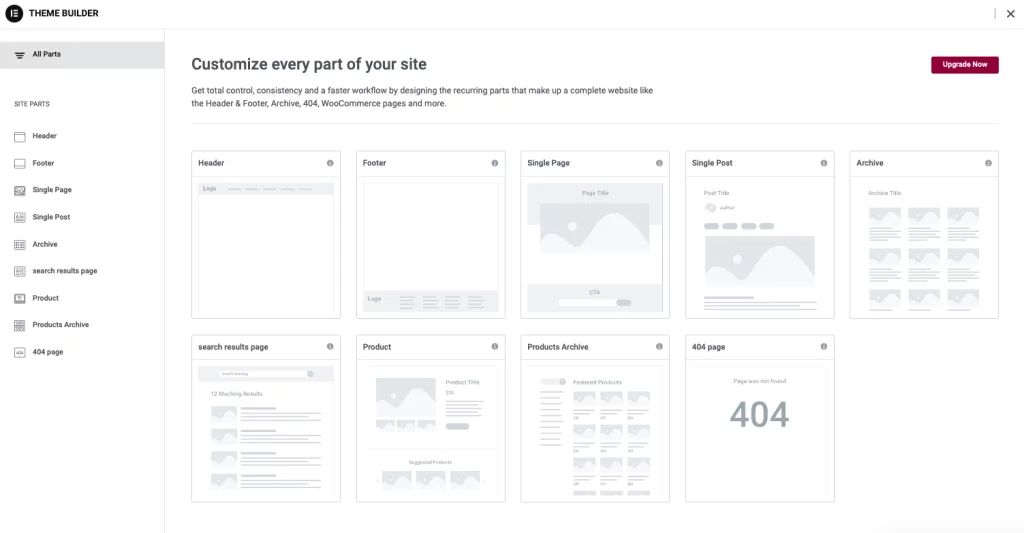
Then, add a section, use dynamic widgets like Post Title, Post Content, Post Info, and Post Comments to dynamically display your post content, and customize the design to match your blog’s branding.
Creating an About Page
The About page is an opportunity to tell your story and connect with your audience. Firstly, create a new page by navigating to Pages > Add New, title your page (e.g., “About”), and click Edit with Elementor.
You can also add sections for your story, mission, and values, use widgets like Heading, Image, Text Editor, and Social Icons, and include a call to action to encourage readers to follow you on social media or subscribe to your newsletter.
Adding Contact Forms
A contact form allows your readers to get in touch with you easily. If you have Elementor Pro, you can use the Form widget. If not, install a plugin like WPForms or Contact Form 7. You can create a contact page by navigating to Pages > Add New, title your page (e.g., “Contact”), and click Edit with Elementor.
Then, add the contact form by dragging and dropping the Form widget (Elementor Pro) or using a shortcode from your form plugin, and customize the form fields, design, and settings.
5. Add Features To Your Elementor WordPress Blog with Plugins
Plugins are essential tools that can significantly enhance the functionality of your blog, allowing you to customize and optimize various aspects of your website with ease. Depending on your needs, there are several types of plugins you should consider integrating into your blog to improve its performance, security, SEO, and social media engagement.
SEO Plugins
Search Engine Optimization (SEO) is crucial for driving organic traffic to your blog. SEO plugins can help you optimize your content to rank higher in search engine results. Two highly recommended SEO plugins are Yoast SEO and Rank Math.
Yoast SEO is one of the most popular SEO plugins available. It offers comprehensive features to optimize your blog posts, including keyword optimization, readability checks, and meta description editing. Yoast SEO also provides insights and suggestions to improve your content, helping you ensure that your posts are search-engine friendly.
Rank Math is another powerful SEO plugin that offers a wide range of features to enhance your website’s SEO. It provides keyword suggestions, content analysis, and integration with Google Search Console. In addition, Rank Math is designed to be user-friendly and helps you optimize your posts for better visibility in search engine results.
Performance Plugins
Improving your website’s performance is essential for providing a good user experience and reducing bounce rates. Performance plugins can help you speed up your site by optimizing various elements.
W3 Total Cache is a popular performance plugin that improves site speed through caching. It reduces the load time of your web pages by storing a static version and serving it to users. This can minimize the amount of processing needed for each request. This results in faster load times and better overall performance.

Smush is an image optimization plugin that helps you reduce the file size of your images without compromising quality. This optimization leads to faster loading times, especially for image-heavy blogs. Additionally, Smush automatically compresses and resizes images as you upload them, ensuring your website remains fast and efficient.
Security Plugins
Protecting your blog from malicious attacks and ensuring its security is paramount. Security plugins provide various tools to safeguard your website against threats.
Wordfence is a comprehensive security plugin that offers real-time threat defence, malware scanning, and firewall protection. It monitors your website for suspicious activity and provides alerts and insights to help you respond to potential threats promptly. In overall, Wordfence is an excellent choice for maintaining robust security for your blog.

Sucuri Security is another top-tier security plugin that provides a wide range of features to protect your site. It includes malware scanning, blocklist monitoring, and security hardening. Sucuri also offers a website firewall that helps to block attacks and improve site performance. It is an essential plugin for maintaining your blog’s security and integrity.
Social Media Plugins
Integrating social media functionalities into your blog can significantly enhance user engagement and drive traffic from social networks. Social media plugins make it easy for visitors to share your content and connect with your social media profiles.
Social Snap is a versatile social media plugin that allows you to add social sharing buttons to your posts and pages. It supports multiple social networks and provides customizable button styles. Social Snap also offers features like social meta tags, click-to-tweet functionality, and social media follow buttons, making it a comprehensive tool for boosting your social media presence.

Revive Old Posts is a unique social media plugin that helps you automatically share your old posts on social media platforms. This plugin keeps your content alive and continues to drive traffic to your site by regularly posting your old content on social media. Besides, It supports various social networks and allows you to schedule and customize your posts.
6. Optimizing Your Elementor WordPress Blog for SEO
Search Engine Optimization (SEO) is crucial for driving organic traffic to your blog, and helping your content reach a wider audience. Implementing effective SEO strategies ensures that your blog posts are easily discoverable by search engines, thereby improving your site’s visibility. Here are some essential tips to optimize your blog for SEO:
Keyword Research
Keyword research is the foundation of SEO. It involves identifying the terms and phrases that potential readers are using to find content similar to what you offer. Tools like Google Keyword Planner, Ahrefs, and SEMrush are invaluable for this purpose. They help you find relevant keywords with a good search volume and low competition, guiding you on which terms to focus on in your blog posts.
On-Page SEO
On-page SEO refers to the optimization of individual pages on your blog. It includes several critical elements:
- Title Tags: Ensure that your primary keyword is included in the title of your blog post. A well-crafted title tag not only helps with SEO but also attracts readers’ attention.
- Meta Descriptions: Write compelling meta descriptions that include your target keywords. These descriptions appear in search engine results and can influence click-through rates.
- Headings: Use heading tags (H1, H2, H3, etc.) to structure your content. This not only makes your posts easier to read but also helps search engines understand the hierarchy and relevance of your content.
- Internal Links: Link to other relevant posts on your blog. Internal linking helps search engines crawl your site more effectively and keeps readers engaged by providing them with additional content.
- Image Alt Text: Add descriptive alt text to your images. This helps search engines understand what the images are about and can also improve your visibility in image search results.
Content Quality
High-quality content is the cornerstone of successful SEO. Your blog posts should be informative, engaging, and valuable to your readers. Aim to write content that answers your audience’s questions and solves their problems. Additionally, enhance your posts with visuals such as images, infographics, and videos, which can make your content more engaging and shareable.
Mobile Optimization
With a significant portion of web traffic coming from mobile devices, it’s essential to ensure your blog is mobile-friendly and responsive. A mobile-optimized blog provides a better user experience and can improve your search engine rankings. Make sure your site design adjusts smoothly to different screen sizes and that all elements, including images and navigation, are easy to interact with on mobile devices.
7. Making Your Elementor WordPress Blog Mobile-Friendly

Given the prevalence of mobile internet usage, it’s crucial that your blog performs well on mobile devices. Here are the steps to ensure your blog is mobile-friendly:
Step 1: Use Responsive Design
Choose a responsive theme for your blog that automatically adjusts to different screen sizes. Elementor makes this easy by allowing you to customize your design and ensure that it looks great on any device.
Step 2: Preview and Adjust
Elementor’s responsive mode lets you preview how your blog will appear on various devices. Use this feature to identify and correct any design issues, ensuring a seamless experience for mobile users.
Step 3: Optimize Images
Use responsive images that automatically resize to fit the screen they are viewed on. This not only improves the user experience but also helps reduce load times on mobile devices. Tools like Smush can help optimize your images for faster loading without compromising quality.
8. Final Touches for Your Elementor WordPress Blog
Before launching your blog, it’s essential to ensure that everything is polished and functioning correctly. This preparation is crucial for providing a positive experience for your readers and maintaining your blog’s credibility. Here are some final steps to take before you go live:
Proofread Your Content
Carefully go through your content to check for any spelling and grammatical errors. This step is critical because a well-written blog enhances your credibility and ensures that readers have a positive experience. Errors in your content can distract readers and undermine your authority. Consider using tools like Grammarly or Hemingway Editor, or even enlist the help of a professional proofreader to ensure your content is impeccable.
Test All Links
Ensure that all internal and external links within your blog posts are working correctly. Broken links can frustrate readers and damage your site’s search engine optimization (SEO). Regularly testing your links helps maintain the integrity of your blog and enhances user experience. Additionally, tools like Broken Link Checker can automate this process, saving you time and ensuring that your readers do not encounter any dead ends.
Check Forms
If your site includes forms, such as contact forms or newsletter sign-up forms, it’s vital to test them to make sure they are functioning properly. Functional forms are essential for capturing reader inquiries and sign-ups. This will then allow you to engage effectively with your audience. Submit test entries to verify that the forms are working and that submissions are being received correctly. This step helps prevent missed opportunities and ensures that your communication channels are open and reliable.
Backup Your Site
Installing a backup plugin like UpdraftPlus is crucial for safeguarding your content. Regular backups ensure that you can quickly restore your site in case of any issues or data loss. Create a comprehensive backup of your site, including all content, settings, and databases. Having a reliable backup strategy in place provides peace of mind and a safety net, allowing you to focus on growing your blog without the constant worry of losing your hard work.
Taking these final steps to proofread your content, test all links, check forms, and back up your site will help ensure a smooth launch and a professional, polished blog. By addressing these details, you set the stage for a successful blogging experience and foster a positive relationship with your readers.
Final Thoughts: How To Create a Beautiful Blog With Elementor
Creating a beautiful blog with Elementor is a rewarding experience that combines creativity and functionality. By following this step-by-step guide, you can design a visually appealing and user-friendly blog that will attract and engage readers. Remember to keep your content fresh, optimize for SEO, and continuously improve your design to stay ahead in the blogging world.