If you want to start or grow your roofing business but don’t have a website yet, now is the time to make it a priority. Today’s customers rely on the Internet to find local services, compare providers, and make informed decisions. A well-designed website doesn’t just boost your visibility—it also helps establish your credibility, showcase your expertise, and attract more clients.
Think of your website as a 24/7 business tool. It can:
- Showcase your completed roofing projects with high-quality images.
- Generate leads through contact forms and service request pages.
- Build trust with customer reviews and testimonials.
In this guide, we’ll walk you through the essential steps to create a roofing company website that highlights your professionalism, strengthens your brand, and sets you apart from the competition. Let’s get started!
Start Your Roofing Website Today
Why Your Roofing Business Needs a Website
If you’re wondering whether a website is essential for your roofing company, the answer is a resounding yes. In today’s digital-driven world, potential clients turn to the internet to research local businesses before making a decision. Without a website, you risk losing valuable leads to competitors who have a strong online presence.

A well-designed website serves as more than just an online listing—it’s your digital storefront that operates 24/7. It highlights your expertise, showcases past projects, and provides essential information that makes it easy for customers to connect with you. From detailed service descriptions to professional images and contact forms, your website becomes a powerful marketing tool that establishes trust and credibility in the industry.
Expand Your Reach and Attract More Clients
Traditional advertising and word-of-mouth referrals are valuable, but they have limitations. A website allows your business to appear in search engine results when homeowners and businesses look for roofing services in your area. Even if someone hears about your company from a friend, they’re likely to visit your website to learn more before making a call. A professional website ensures you never miss out on potential leads.
Showcase Your Roofing Expertise
In the roofing industry, visuals speak louder than words. A dedicated portfolio section on your website lets you display high-resolution images of past projects, from minor repairs to full-scale installations. Seeing your craftsmanship firsthand gives potential clients confidence in your skills and helps them envision how you can meet their roofing needs.
Simplify the Booking Process
Make it easy for customers to take the next step by integrating contact forms, quote request options, and scheduling tools directly on your website. By reducing friction in the booking process, you increase the chances of converting visitors into paying clients. The easier it is to get in touch with your team, the more likely customers are to choose your services.
Establish Trust and Credibility
A polished, informative website signals professionalism and reliability. In a competitive market, clients are more inclined to trust businesses with a strong online presence over those they can’t find at all. Including customer testimonials, industry certifications, and case studies on your website reinforces your reputation and builds confidence in your expertise.
Your 24/7 Sales Tool
Think of your website as an always-open showroom for your roofing business. Whether a potential client is researching services late at night or during a lunch break, your site provides them with the information they need to make a decision. By investing in a professional website, you create a powerful tool that generates leads, builds brand authority, and ultimately drives business growth.
If you’re serious about expanding your roofing company, a well-optimized website isn’t just an option—it’s a necessity.
Start Your Roofing Website Today
How to Build a Roofing Company Website
Creating a professional website for your roofing company is essential for attracting new clients, showcasing your expertise, and standing out from competitors. A well-designed website can help you establish credibility, rank higher in search engines, and convert visitors into paying customers.
Follow these eight essential steps to build a roofing company website that not only looks great but also drives leads and business growth.
Step 1: Plan Your Roofing Website
A successful roofing website starts with a solid plan. Before diving into the design, it’s essential to define your approach by considering three key factors. First, identify your target audience—are you catering to homeowners, commercial property owners, or real estate developers?
Understanding your audience helps tailor your messaging and design. Next, determine the essential website pages that provide potential customers with the information they need to trust and hire your business. Finally, establish a lead generation strategy to convert website visitors into inquiries and clients.
Essential Pages for a Roofing Website
To maximize your website’s effectiveness, it is essential to include certain must-have pages. First and foremost, your Home Page should make a strong first impression by featuring high-quality images of past roofing projects. Additionally, it should clearly outline your services and unique selling points. To further enhance engagement, be sure to include a compelling Call to Action (CTA), such as “Get a Free Roofing Estimate Today,” to encourage conversions.
Next, your Services Page should provide detailed descriptions of the services you offer, such as roof repairs, replacements, and installations. To differentiate your business, highlight what sets you apart, whether it’s warranty-backed materials or emergency services. Furthermore, incorporating high-resolution project images can help establish credibility and reassure potential clients.
Equally important, the About Page presents an opportunity to build trust with potential clients. By sharing your company’s history, experience, and mission, you can create a strong connection with visitors. Moreover, introducing your team with photos and showcasing certifications, industry affiliations, and awards can reinforce your expertise and professionalism.
In addition, your Contact Page should make it easy for potential clients to reach you. Be sure to include a contact form, phone number, and email address, along with a map of your service areas. This way, visitors can quickly determine whether your business serves their location.
For even greater engagement, consider adding optional pages. For instance, a Gallery Page featuring before-and-after images of completed roofing projects can visually showcase your expertise. Similarly, a Blog Page allows you to share valuable content, such as roof maintenance tips, repair advice, and industry insights. Not only does this help keep visitors engaged, but it also boosts SEO by improving your website’s visibility in search results.
Step 2: Set Up a Domain Name and Hosting
A domain name and hosting provider are the foundations of your roofing website. Your domain name serves as your online identity, so it’s essential to choose one that is both memorable and professional. A good domain name should reflect your roofing business, such as ReliableRoofingPros.com. To improve search visibility, consider including relevant keywords like “roofing” or “contractor.” If your business operates locally, adding your city to the domain name (e.g., ReliableRoofingNYC.com) can help attract local clients.
Equally important is selecting the right hosting plan. Reliable web hosting ensures your website loads quickly and remains accessible to potential customers. When choosing a hosting provider, look for high uptime (at least 99.9%) to prevent downtime, fast loading speeds to enhance user experience and SEO, and essential security features such as SSL certificates, malware protection, and backups. Scalability is another crucial factor—opt for a hosting provider that allows your website to grow alongside your business.
One recommended hosting provider is Bluehost, which offers affordable and beginner-friendly plans. With features like one-click WordPress installation, Bluehost simplifies the website setup process, making it an excellent choice for roofing businesses.

Once you have chosen your domain and hosting provider, you’ll need to connect them. Log into your hosting provider’s dashboard and navigate to the Domain Management or DNS Settings section. Enter your hosting provider’s nameservers, save the changes, and wait for the domain to connect. This process may take a few hours, but once completed, your roofing website will be live and ready to attract customers.
Start Your Roofing Website Today
Step 3: Choose and Customize Your Roofing Company Website Design
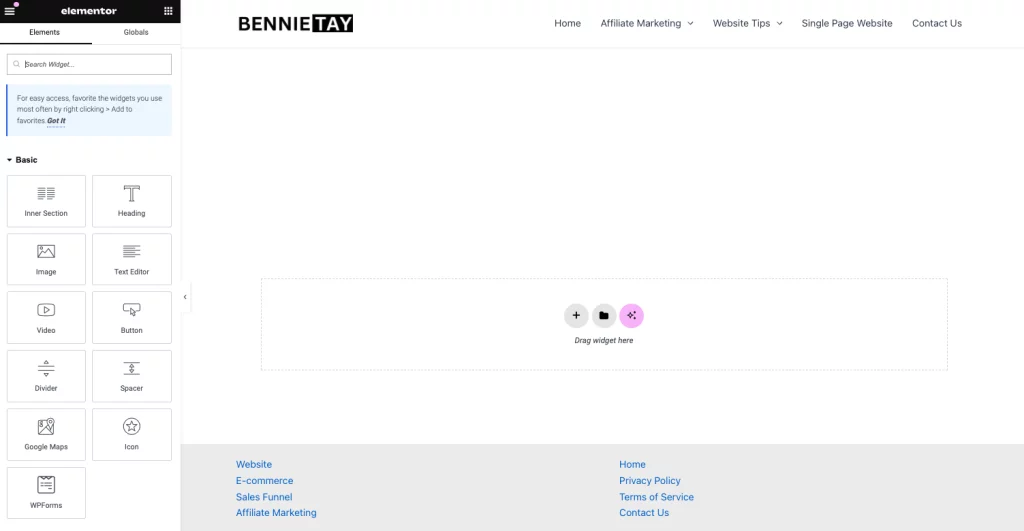
Your website design should reflect professionalism, trust, and credibility to establish a strong online presence for your roofing business. Choosing the right theme is essential, especially if you’re using WordPress. Opt for a roofing-specific theme that provides a professional layout with high-quality images, dedicated service sections, and easy navigation. Customization options are also important—ensure the theme allows you to modify colours, fonts, and layouts to align with your brand identity. Additionally, mobile responsiveness is crucial so your site looks great on all devices. To simplify customization, consider using Elementor, which offer intuitive drag-and-drop functionality.
Branding plays a key role in building recognition and trust. Place your logo prominently in the header to establish brand identity. Your colour scheme should include trust-building colours like blue, grey, or white, which convey professionalism and reliability. For typography, select easy-to-read fonts to enhance readability and create a polished look.
A user-friendly navigation structure ensures visitors can easily find the information they need. Organize your menu clearly, making essential services easy to access. Add call-to-action (CTA) buttons throughout your site to encourage visitors to request quotes or schedule consultations. Since many potential clients browse from their phones, ensure mobile compatibility so your website remains functional and visually appealing across all devices.
Step 4: Write High-Converting Content
Your website’s content should be clear, compelling, and optimized for SEO to effectively engage visitors and improve search rankings. Well-structured content ensures potential clients quickly understand your services and why they should choose your business.
Key content areas to focus on include:
- Home Page – This is your first opportunity to make an impression. Clearly introduce your business and the roofing services you offer, emphasizing your expertise and reliability.
- Services Page – Provide detailed descriptions of each service, such as roof repairs, installations, and replacements. Highlight the benefits of working with your company, such as high-quality materials, warranties, and emergency services.
- Testimonials – Display customer reviews and success stories to build trust and showcase the positive experiences of past clients.
- FAQs – Answer common roofing-related questions, addressing topics like costs, timelines, materials, and warranties to help potential customers make informed decisions.
SEO Tip:
To improve your website’s search engine ranking, use keywords naturally throughout your content. Incorporate relevant terms like “roofing services,” “roof repair,” “commercial roofing contractor,” and location-based keywords to enhance visibility on Google. Well-optimized content not only attracts organic traffic but also increases the chances of converting visitors into customers.
Step 5: Optimize for Local SEO
Local SEO is essential for helping your roofing website appear in Google searches when potential customers look for services in your area. By optimizing your online presence, you can attract more local clients and increase your visibility in search results.
Essential Local SEO Strategies
- Use Location-Based Keywords: Incorporate keywords that include your service and location, such as “Affordable Roof Repair in Miami” or “Trusted Roofing Contractor in Dallas.” These help Google match your website to local searches.
- Claim Your Google Business Profile: Setting up and optimizing your Google Business Profile ensures your business appears in Google Maps and local search results. Add your contact information, photos of completed projects, service areas, and business hours to make it easy for customers to find and contact you.
- Get Local Backlinks: Earning backlinks from local directories, suppliers, and business partnerships strengthens your website’s authority. List your business on sites like Yelp, Angi, and HomeAdvisor, and collaborate with local businesses for referral traffic.
- Encourage Customer Reviews: Positive Google reviews boost your credibility and improve your rankings in local search results. Encourage satisfied clients to leave detailed testimonials about their experience with your roofing services. Responding to reviews—both positive and negative—also shows professionalism and engagement.
By implementing these local SEO strategies, your roofing business can gain higher visibility, attract more qualified leads, and build trust within your community.
Step 6: Test Your Roofing Company Website Before Launching
Before making your website live, it’s crucial to perform a final quality check to ensure everything functions smoothly and provides a seamless user experience. Here are the key areas to review:
- Check All Links – Click through every link on your site to ensure there are no broken links or incorrect redirects. A smooth navigation experience keeps visitors engaged and improves SEO.
- Verify Mobile-Friendly Design – Test your website on multiple devices (smartphones, tablets, desktops) to confirm that the layout, images, and text display correctly. A responsive design ensures a positive user experience across all screen sizes.
- Optimize Page Load Speeds – Use tools like Google PageSpeed Insights or GTmetrix to test your site’s loading time. Compress images, minimize code, and choose a reliable hosting provider to enhance speed. A fast website reduces bounce rates and improves rankings.
- Test Forms and Contact Buttons – Fill out contact forms, request quote forms, and call-to-action buttons to make sure they work properly. Check if submissions are being received and that email notifications are functioning correctly.
By thoroughly reviewing these elements before launch, you ensure that your roofing website is fully optimized, user-friendly, and ready to convert visitors into leads.
Step 7: Launch and Market Your Roofing Company Website
Now that your roofing website is complete, it’s time to promote it effectively to attract potential customers and generate leads. Here are some powerful strategies to boost visibility and drive traffic to your site:
Local Business Directories – List your roofing company on Yelp, Angi, and Google My Business to improve local search visibility. These platforms help customers find and trust your services.
Social Media Marketing – Use Facebook, Instagram, and LinkedIn to share project updates, customer testimonials, and roofing tips. Engaging content builds brand awareness and encourages word-of-mouth referrals.
Google Ads & PPC Campaigns – Invest in Google Ads to target customers actively searching for roofing services in your area. Pay-per-click (PPC) campaigns help you appear at the top of search results for high-converting keywords.
Email Marketing – Stay connected with past and potential clients by sending seasonal promotions, roof maintenance tips, and special offers. Email marketing helps keep your brand top-of-mind and encourages repeat business.
By leveraging these promotion strategies, you can maximize your website’s reach, attract quality leads, and grow your roofing business effectively.
Step 8: Maintain & Update Your Roofing Company Website
Your roofing website is a long-term asset that requires regular updates to stay relevant, attract new visitors, and convert leads. Keeping your site fresh with new content helps improve SEO and maintains customer engagement.
Ways to Keep Your Website Updated:
- Publish New Blog Posts & Roofing Tips – Regularly share roof maintenance tips, seasonal roofing advice, and industry updates to establish authority and boost organic traffic.
- Add Fresh Project Photos – Showcase your latest roofing projects with before-and-after images to demonstrate your expertise and build trust with potential clients.
- Feature Customer Testimonials & Case Studies – Update your site with new reviews and success stories to highlight client satisfaction and showcase your best work.
Pro Tip: Use Google Analytics to track website traffic, monitor visitor behaviour, and measure conversions. This data helps refine your marketing strategy and improve your site’s performance.
Final Thoughts: Comprehensive Guide To Build a Roofing Company Website
Creating a roofing company website doesn’t have to be overwhelming. With Bluehost, you get access to a complete toolkit to build a site that showcases your professionalism, expertise, and services. Our user-friendly tools, like WonderSuite, take the guesswork out of designing and customizing your website—making it easy for anyone to create a stunning, high-converting online presence.
Whether you’re starting from scratch or revamping your existing website, Bluehost simplifies the process so you can focus on growing your business. Get started today and build a roofing website that attracts more clients and drives real results!