First of all, what is a popup, what it does do and how to create a popup that converts?
A popup is a small form that appears when a visitor tries to exit a page or after browsing a page for a certain time. The goal of a popup is to capture more subscribers to be added to the email list.
A popup can work as a contact form to capture contact details before something leaves your website or shows a special offer for your eCommerce store shoppers. Popup had been something very important to capture leads and growing email lists.
It is also very easy to create and manage. Most website or landing page builders allow very simple popup creation. Some work as a popup builder and export as a code where you just need to install the code on your website and set when it should appear.
The process is so easy that you don’t need to be an expert or developer to amend it. You can always do it all by yourself within minutes.
Sounds good? Let me show you how you too can create a popup that converts in just 5 easy steps.
TRY GETRESPONSE 30 DAYS FOR FREE
Step 1. Pick a popup builder to Create Your Popup
Tools are created to simplify and ease our life. Unless you are a professional web developer, I suggest that you use a popup builder to create your popup.
Why?
With the help of a popup builder, you can easily create multiple popups and test which one converts the best fast.
Popup builders these days come with a variety of features that make sense to employ instead of coding it from scratch. What’s more important, some of these are free to use.
Inside most popup form creators, you’ll find:
- Prebuilt templates that are designed by professionals and help you to get started
- Targeting options that let you reach even the most specific audience
- Editing and previewing capabilities that’ll help you ensure your popup forms look great on different devices or browsers.
While these features vary from one tool to another, you want to pick the best for your website or landing page. For example, a Funnel builder like ClickFunnels has a popup builder built in with its landing page builder where you can add the popup to every page in your funnel. Or in the case of GetResponse, you can build the popup in the popup builder and then copy the code to your website or landing page.
Both are great tools and only you will know the best for your business.
You’ll also want to ensure your popup form creator integrates with the other tools you already use for your marketing campaigns, like your CRM or email marketing.
Step 2. Define your goal
Now, it’s time to decide what you want your popup to do and plan it out. Typically a popup is used to achieve the following:
- Exit popup to capture the visitor’s details
- Popup to collect email addresses by offering a lead magnet
- eCommerce store welcome offer
- Abandoned cart saving
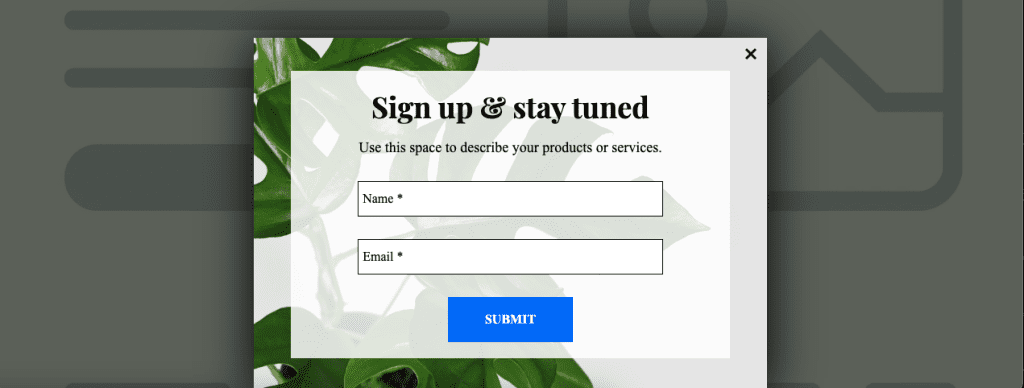
The basic structure of a popup consists of 3 elements,
- headline,
- Sub-headline
- Input field. We typically ask for 2 details only. Name & Email address.
Why do we want to limit the input fields for the popup?
We want to make it as simple as possible for someone to fill in the form and subscribe to our list.
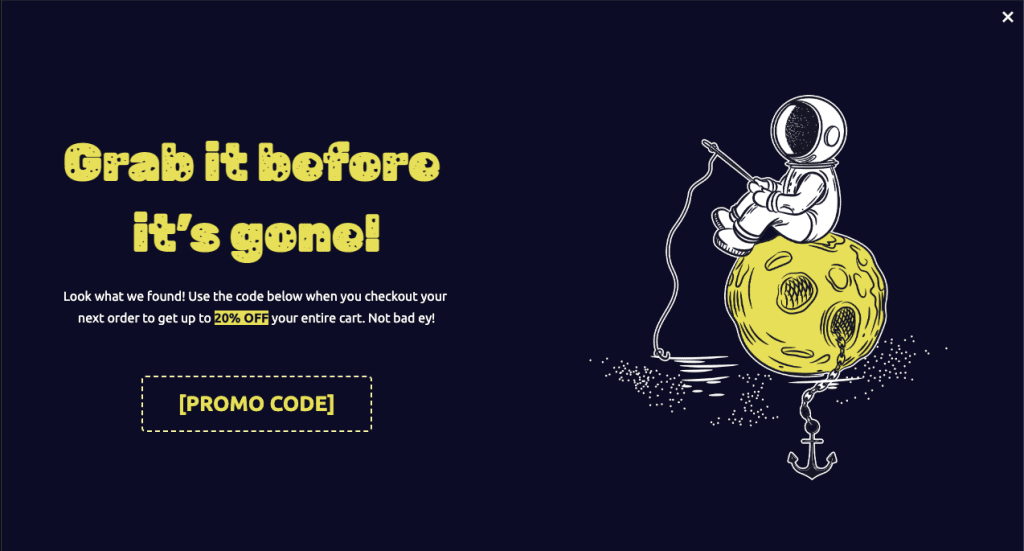
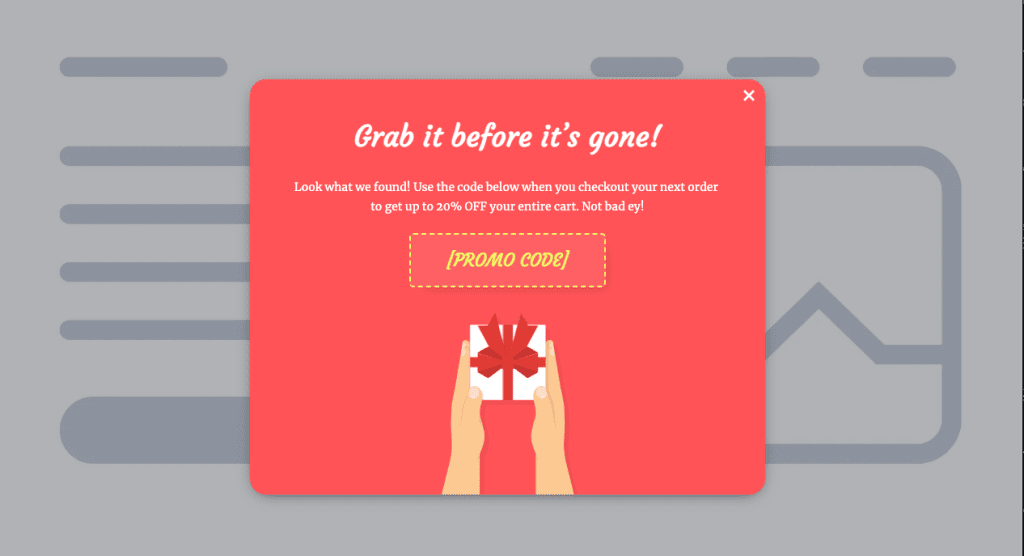
If it’s a popup to promote an offer, a popup window with an image of your product, text explaining the offer, and a call to action (CTA) button leading to your sales page.
And if you’re looking for an abandoned cart popup, your popup will need to have a sense of urgency like XX% discount, limited quantity only, or even a timer to give them more reason to make the purchase decision.
Now, decide the popup you need and here we go. Start building it out.
Step 3. Pick a template and customize it
Starting with a template is better than from scratch. Most popup builders offer a variety of templates, so feel free to choose the best templates based on your niche or business.
One thing to note, the popup builder supports the drag-and-drop function. This means you can change the layout and design of the popup as you desired. Take some time to browse through all the available templates before deciding.
Once you’ve selected the template, it’s time to edit and add your content. Most popups include:
- An attractive headline about the offer
- Sub-headline to further explain the offer in detail
- An image that’s relevant to the offer
- Contact form: Name and email address input
- CTA button: to submit the form and move to the next step
- Data privacy consent information: how the data will be processed
- Checkbox to let visitors confirm whether to opt into the list
Some popup forms also include social proof and trust symbols or a countdown timer to increase the sense of urgency.
Some rules for the popup design, you would want it to be attractive and easy to read so it will be easier for your visitors to submit the popup.
Step 4. Decide When and how the popup to appear
Now, a popup template is like a simple contact form. But what makes it different is that it can appear to your audience just when they need to subscribe to it.
It can be an entry popup, exit popup, time-based popup, scroll popup, or on-click popup.
- Entry popup: A popup that appears as soon as someone visits the page
- Exit popup: A popup that appears when a user moves their pointer away from the window.
- Time-based popup: A popup that appears after a user spent some fixed amount of time on the page.
- Scroll popup: A popup that appears when a user scrolled through a certain part of the page
- One-click popup: A popup that appears when the user clicks on a button.
Depending on the popup goals, you will need to use different popup types. For an e-commerce abandoned cart reminder, you will need an exit popup to notify the customer to take action and complete the purchase.
So now, it’s your turn to decide when and how the popup should appear on your page. You should consider :
- Which page do you want the popup to appear
- How often is the pop to be displayed
- When the popup appears – time-based or an action triggered
- Device type for the popup to be displayed
There are many ways you can target your popups. You need to know your audience well to decide which is the best for you. Else, just test it out and see how the market reacts.
Consider the goal you chose in step two and move from there. If your offer’s relevant to everyone who visits your website, you can show the popup to everyone. Ideally, you’ll give your visitors enough time to access the content they came for and only then show them your popup.
Step 5. Preview and publish
Before your new popup goes live, it’s time to do the final checks.
In your popup builder, preview your popup form and see how it looks when displayed on desktop and mobile devices. This is the most important step. You don’t want the popup to look ugly and block your content while not doing what it should.
Go through the process yourself and experience what your audience will see. If it looks OK, click save and head over to publish it.
Most popup builders will generate a piece of Javascript code you’ll then need to install on your website. Or for some, it’s pre-integrated with the landing page.
Final Thought: Start To Create Your Popup Now
Now you know how to create and launch a popup form easily. There is no excuse for not implementing it in your business.
So go ahead and create a popup using the tool you’ve selected in step one.
If you are still not able to decide, take a look at these 2 platforms that both offer a free trial.